Simplest ways to improve your webcam image
First things first: why is a great webcam image even desirable?
Well, if you still need an explanation after the past few months in which we've probably all witnessed the highs and lows of video calls, here you go! On the one hand, it is often super convenient to stay at home for a meeting and join a Microsoft Teams call just in time, without commuting anywhere. On the other one, all of us have seen (or experienced) the struggles when joining an online meeting: inadequate internet connection, bad audio quality (or no audio at all) and yes; a sub-par presentation of our colleagues', partners', clients' or even our own faces recorded by our webcams!
There are a couple of possible culprits, and usually, when you are participating in a video call while hanging on your couch or on even at your desk and you're using a laptop with a low quality integrated webcam, it soon becomes evident that this low-angle high-contrast image isn't really the peak of aesthetics you might want to send out into the world.
But what if I told you that with a couple of straightforward steps, you'll be able to transform that sub-par webcam image to one that displays your face in a way it actually deserves?
Tipp 1: Follow basic photography principles
The #1 issue with webcams is not the webcam itself but rather a lack of know-how on the user side! To be more specific: the lack of awareness on how to best illuminate a subject. To be honest, this is not something new for people who know how to make other people look good (or show them in the best light, if you will) - like portrait photographers.
The image you send to the other participants should be about you when you attend a video call. What do I mean by that? The others should visually be focused on you and not your background or anything else in the frame.
In theory, there is a pretty easy improvement you can make: change your light setting.
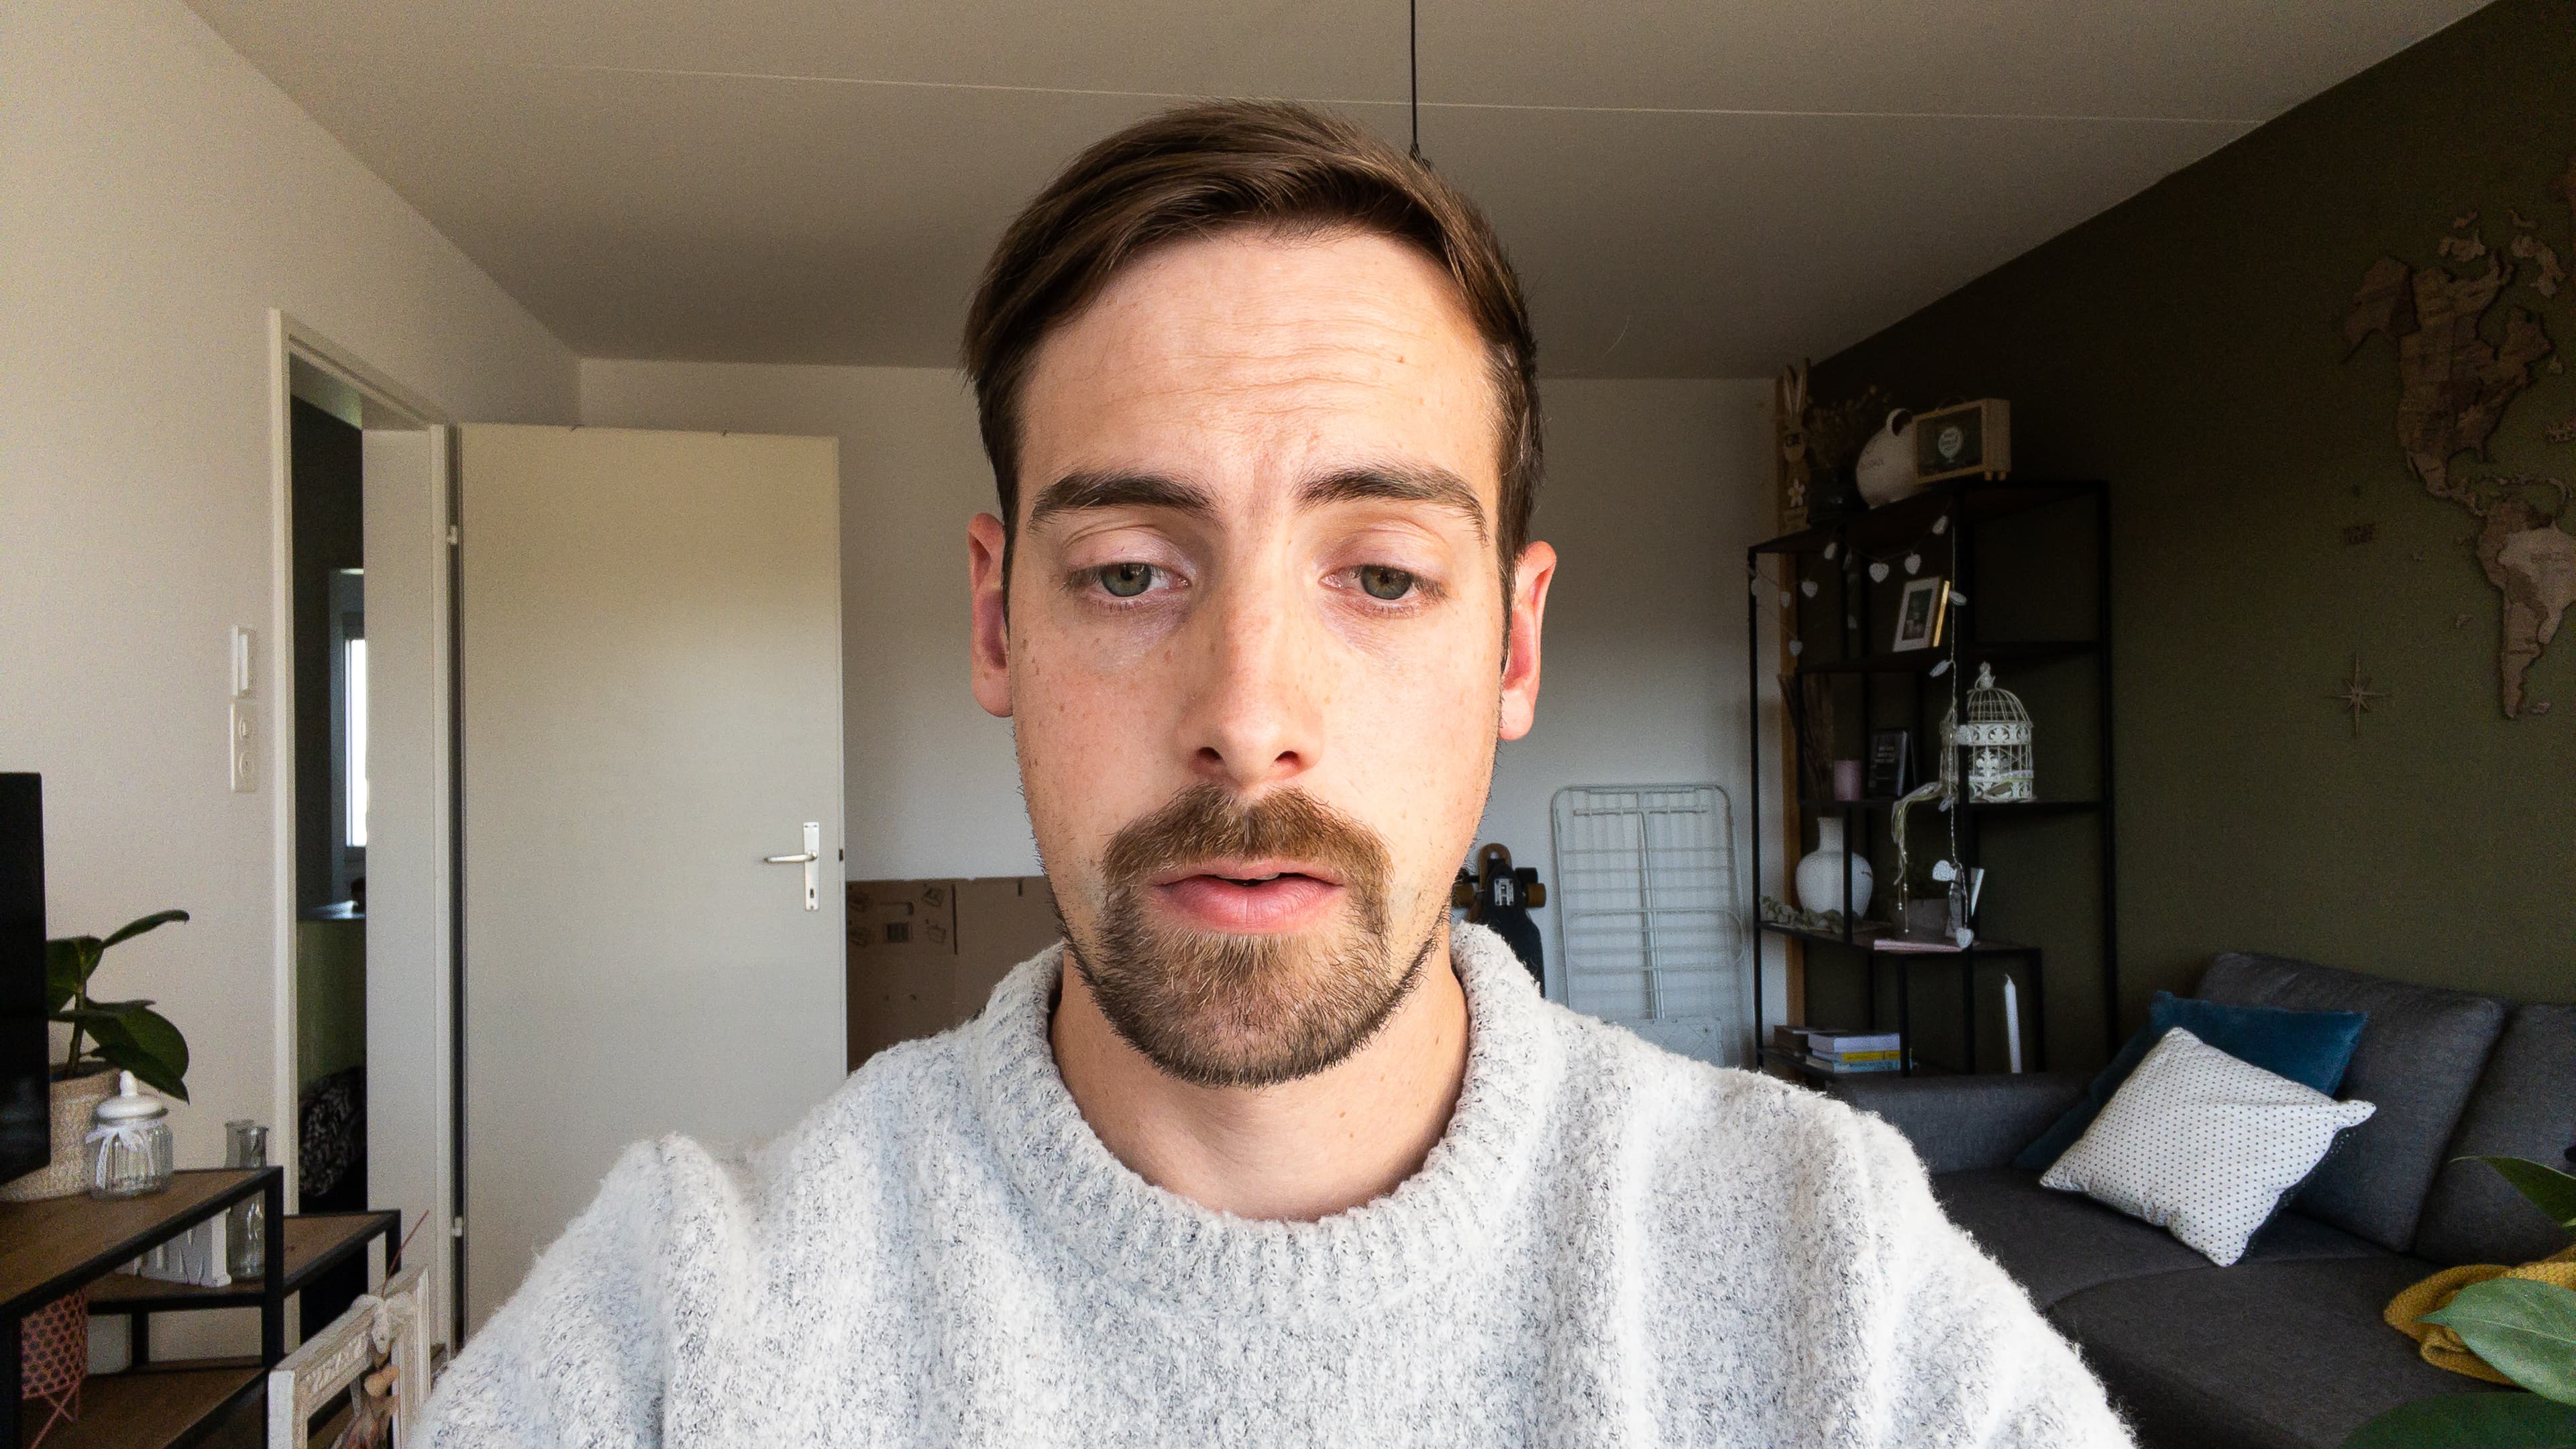
If your desk is against a wall and the only light in your room is the entering daylight from behind you (e.g. if there is a window behind your back), only your backside is being lit, which helps no one. This results in a really bright area behind you, and your face is covered with shade. The reason? You are sitting against the wall in front of you, ridding yourself of all light. And this is the exact opposite situation you want. The window in the background attracts all the attention instead of you! On top of that, your webcam's automatic exposure compensation usually tries to adjust for the brighter parts of your image. This is thus going to darken your face even more, to better expose for the side character in your story: the useless bright window behind you.

So, we've just highlighted one of the significant visual quality issues, and it isn't even a problem with our webcam itself! The question is: how do we fix it without breaking the bank? This should actually be relatively easy.
Take advantage of the best light, which is available to all of us
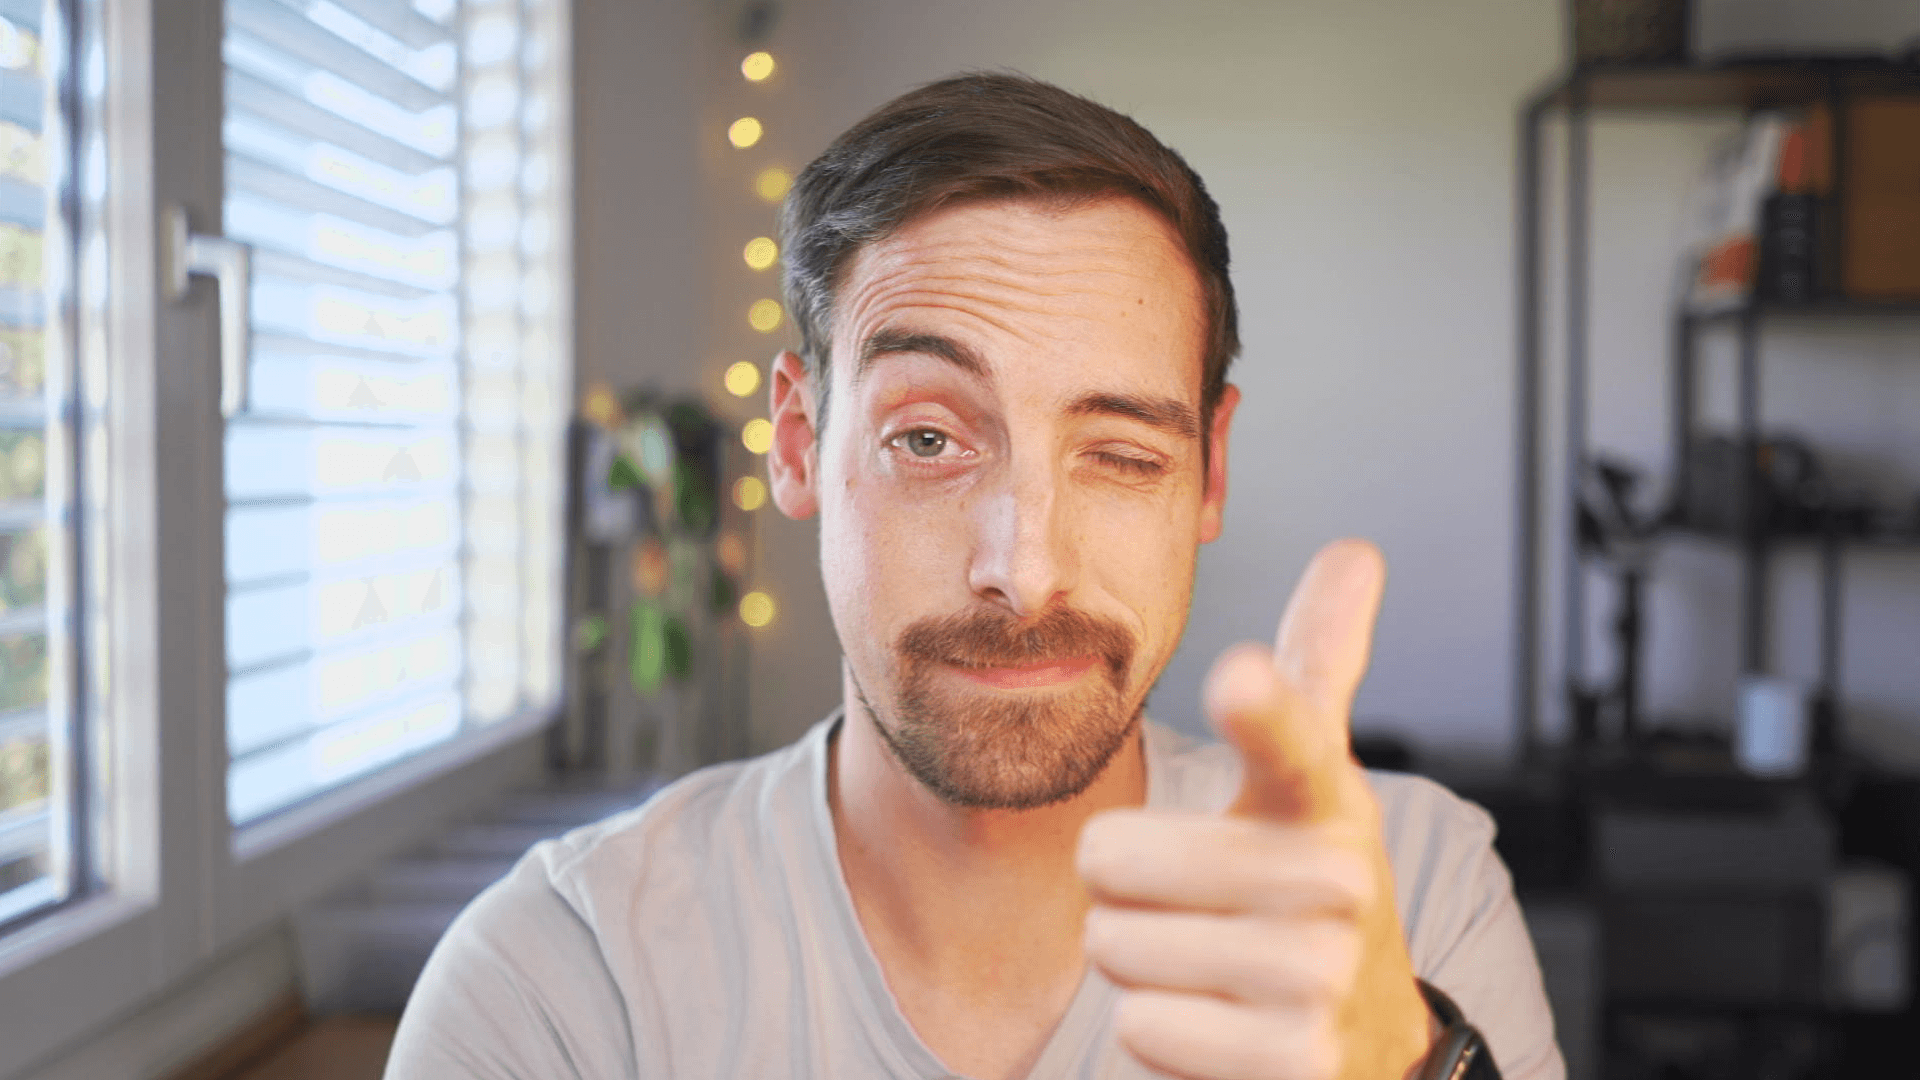
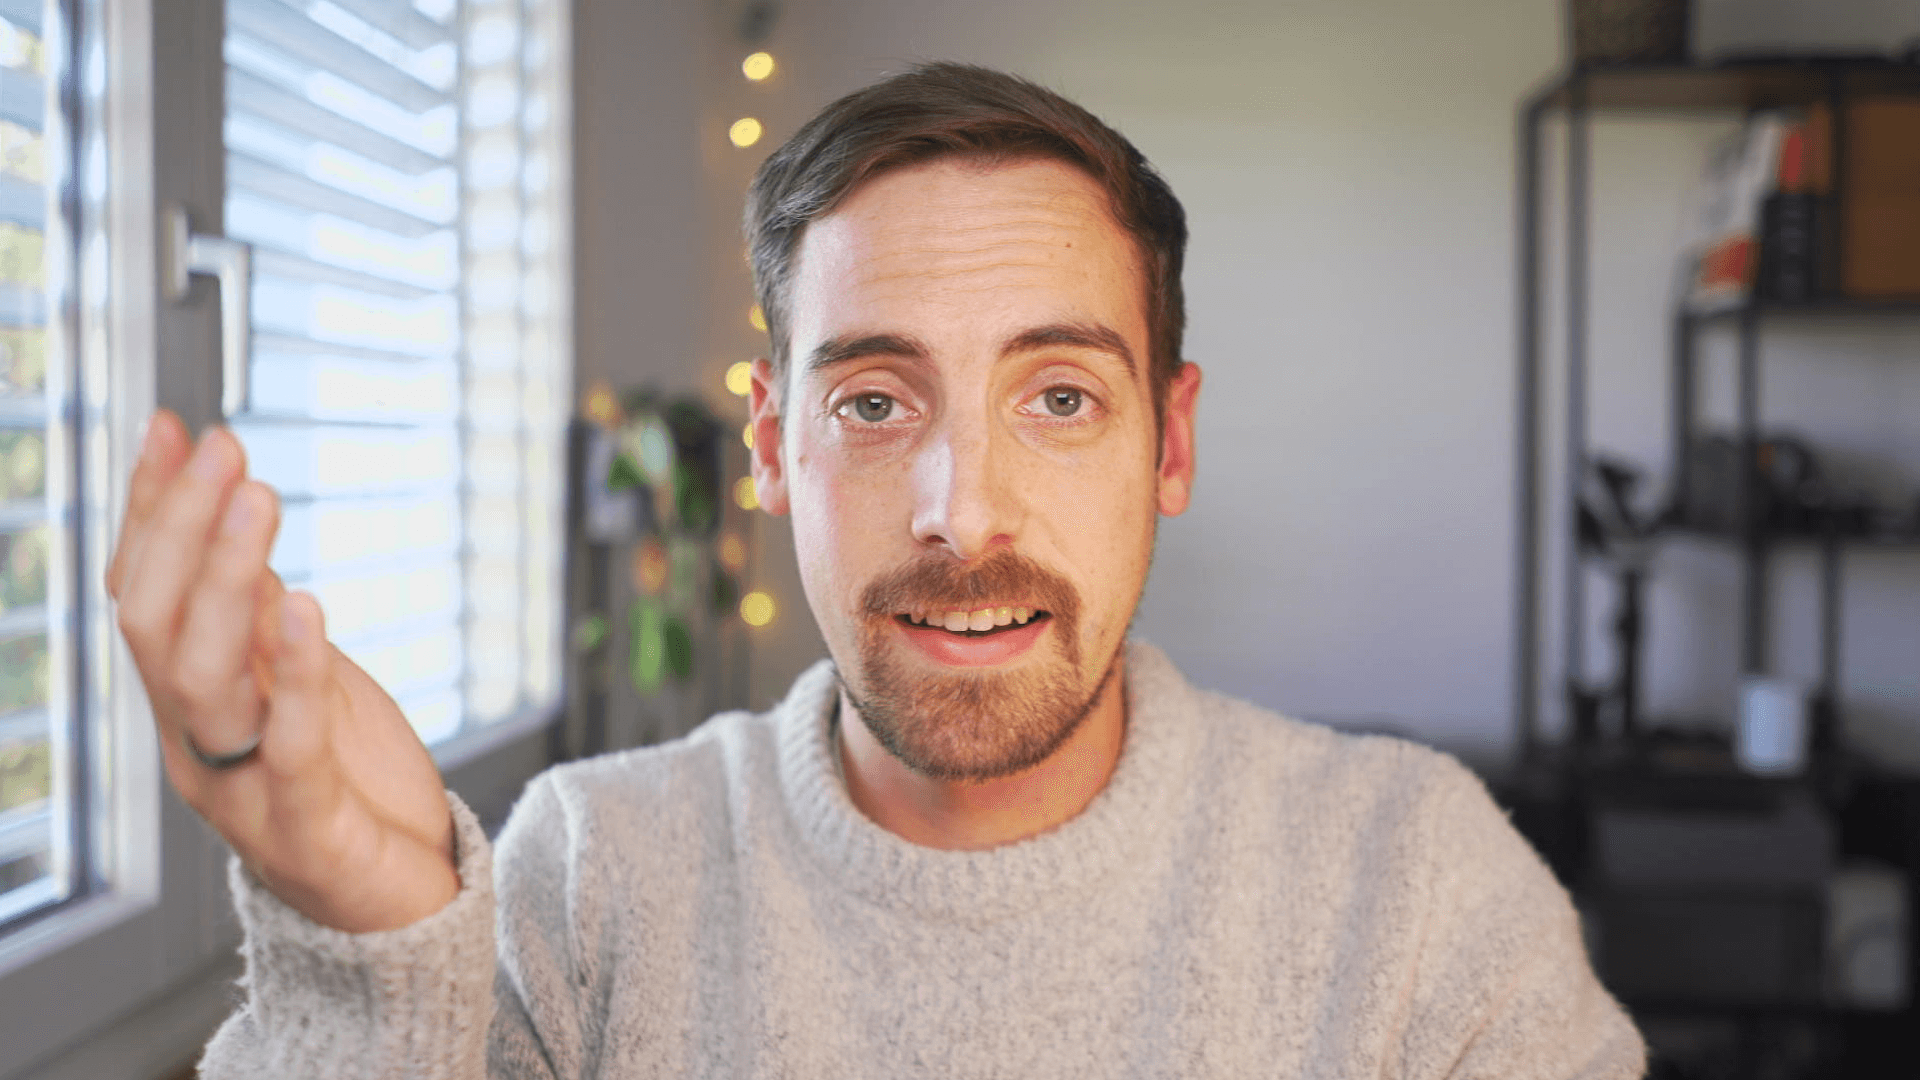
We usually work during the daytime. And unless it is winter season in the far northern hemisphere, we all get a bit of the bright and free daylight coming in through our windows. We probably just did not use it properly up to this point. So instead of being stuck up against a wall, position yourself in front of the window.
Now your face is directed towards the primary light source. This means that your face gets most of the light while it loses its energy until it hits your background.
However, this setting isn't entirely "error-free". For example, if the sunlight is directly entering the room through your window, you might struggle to see the screen of your device as its brightness won't be able to compete with the raw power of our precious sun.

Furthermore, in comparison to skylight, sunlight is a direct light source, meaning it creates harsh shadows, which are usually considered less flattering for your face. On the other hand, soft light wraps around your face and creates smoother shadows, hiding skin imperfections. And since the light is less directional it will not appear as a hard reflection on your face which is usually a bit greasy or sweaty, whether you like this truth or not.
Use a desk lamp
Obviously, you might not be able to place your workspace in front of a window, either because there is not enough space or maybe you are already comfortably set up with multiple monitors and other peripherals and don't want to move! Or perhaps you just get distracted from work too quickly if you have this lovely view right in front of you, or you might not have any windows at all, I don’t know your specific situation.
In those cases, there is another pretty easy solution: Get a lamp on your desk. It does not have to be expensive; maybe you already have one right there or somewhere in your home. And perhaps it has a translucent lampshade that creates soft light, which would be awesome. If not, you can always direct it towards the white wall in front of you and thus get soft indirect light that way.
But beware: since a desk lamp is way weaker than daylight, you need to check if you are being lit bright enough or if our dear sun is scorching the contents of your room which would probably defeat the whole purpose. In this situation, there is always the option to shut the blinds in your room to have less light overpowering your desk lamp.

I am personally convinced that having the strongest possible light illuminating your face will always be the ideal. It means less light spill from other light sources around you, and it empowers your webcam to improve your image quality by a lot.
Tipp 2: Beware of your webcam's orientation!
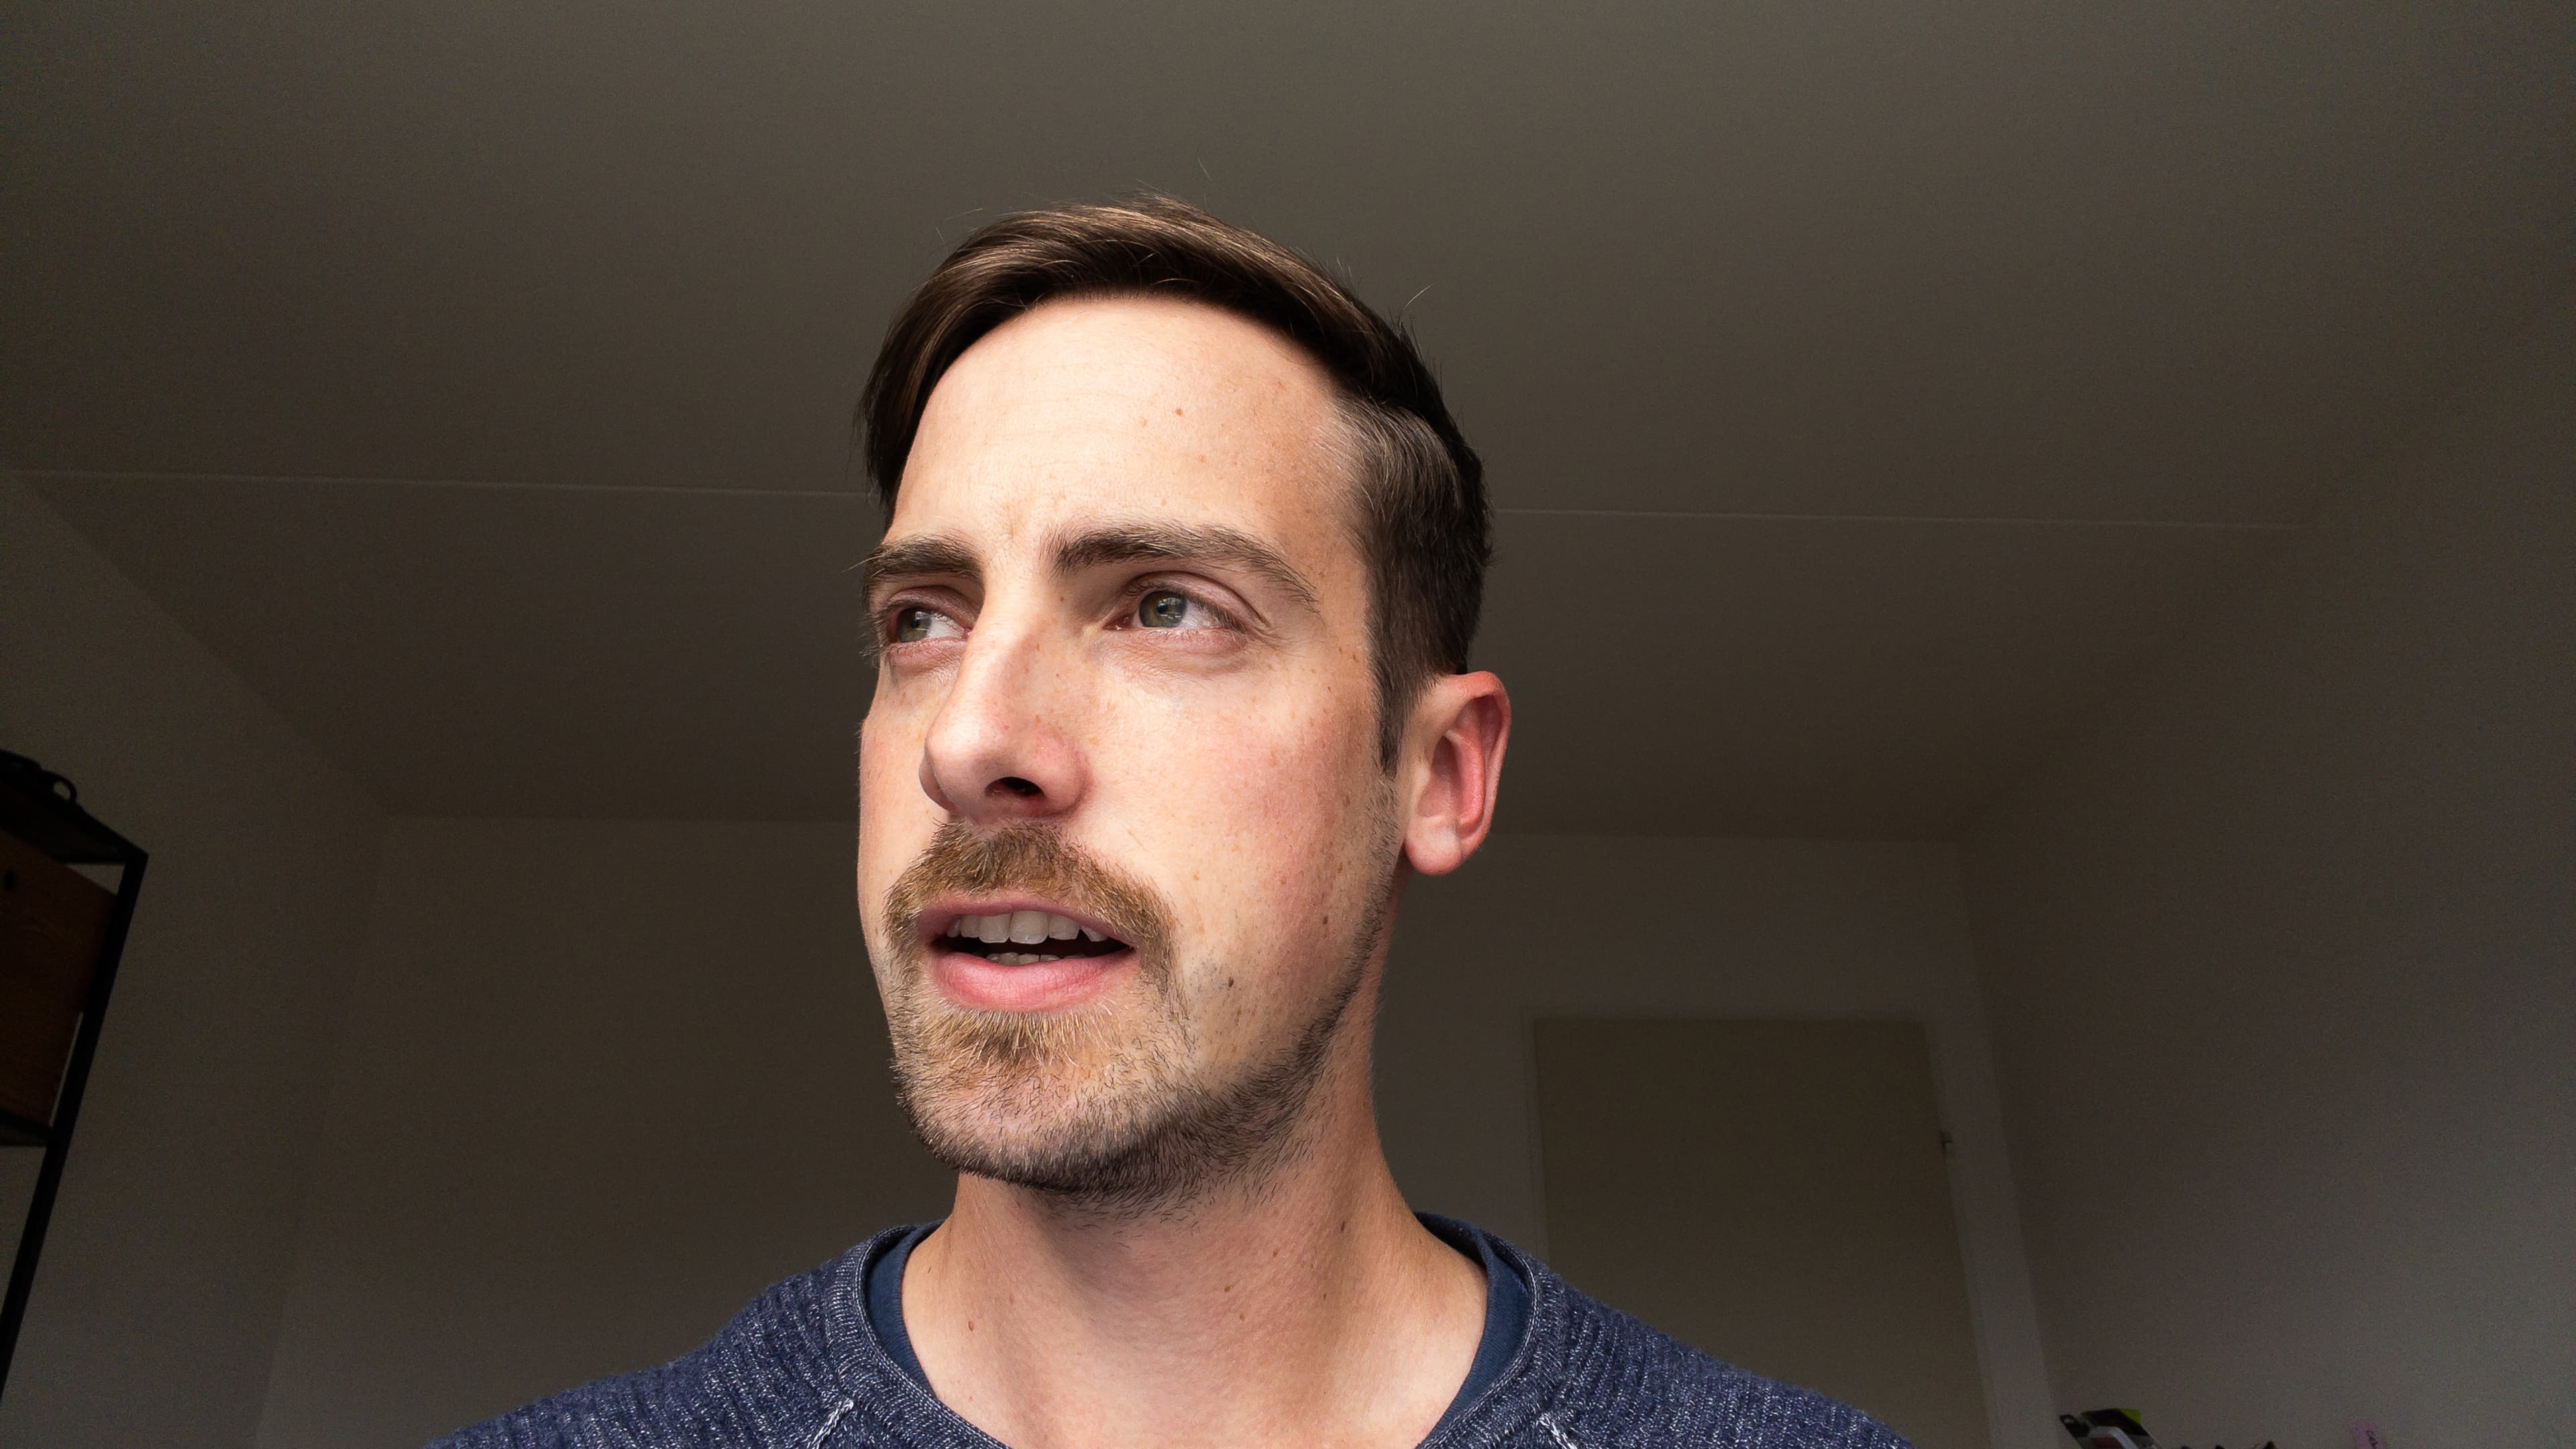
The second major issue which harms your good-looking self is usually the actual position of your webcam. You are lucky if it is located in the top bezel of your laptop, but there are poor souls whose laptop feature a pop-out webcam on keyboard level, which lets your dear video call participants gaze at you from between your busy fingers up your nostrils.
Use a laptop stand
If you don't plan to work on the laptop during the call, the easy-ish solution would be to use a stand to elevate the webcam position to eye level. Additionally, try to get the camera's orientation parallel to the ground for a more excellent result. Similarly, I would advise you to use an external keyboard and mouse so that your laptop can always stay on the stand and the camera is always ready for that ever-looming emergency call from your client.
As you see, this also improves the general image composition: the more eye-level perspective gives a friendlier appearance, and the background becomes less distorted.
If desired: Modify your background
Showing your whole background might be pretty distracting sometimes, or you just don't want to display it because of privacy concerns. The solution? Pretty easy! Use the blur filter or (replace it altogether) in Microsoft Teams.

Still not finished?
So there you have it. As highlighted, a lot can be achieved without getting expensive camera gear, specialized software and big lighting equipment. Understanding a little something about lighting principles and perspective already helps to let you look better and stand out in the crowd.
I finally would like to mention that, of course, this is always a matter of taste, and some might be totally happy with their current setup. My goal was just to make you think about your current webcam image, experiment with it and show you that there are possibilities to improve it, even within the limitations you might have.
Moreover, some may have noticed that the final images are not quite on par with the first teaser image yet; sorry about that. If you've liked this post and are willing to get deeper on the subject, stay tuned because there are more to follow. This has basically just been an introduction for those who want to get a basic, pleasing image. But you can get crazy with this topic, and I'm definitely excited to share more in the future!

Anyways, I hope you've learnt something from this post! Try it out, take control over your webcam image and collect those compliments from the people who might not do the same - yet!